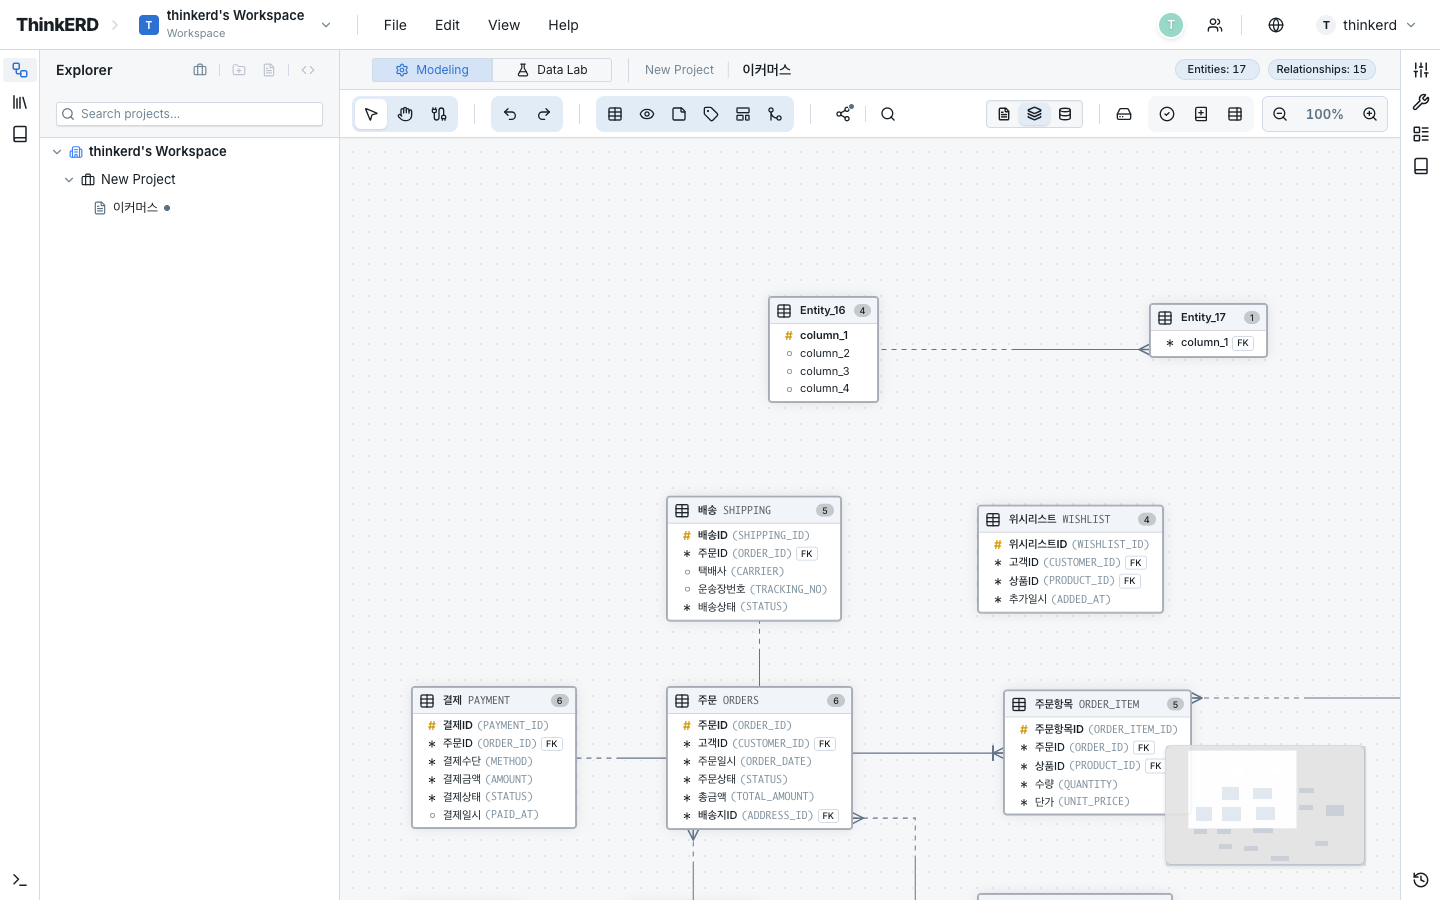
Canvas & View Modes
The canvas is ThinkERD's central workspace. Visually arrange entities and relationships, switch between view modes, and refine your model with a variety of tools.
Basic Canvas Operations
Pan & Zoom
| Action | Mouse/Trackpad | Shortcut |
|---|---|---|
| Pan canvas | Drag on an empty area or scroll | — |
| Zoom in | Ctrl + Wheel up or trackpad pinch out | Ctrl++ |
| Zoom out | Ctrl + Wheel down or trackpad pinch in | Ctrl+- |
| Reset to 100% | Zoom reset button | Ctrl+0 |
| Fit all | Auto-adjust zoom to fit all entities on screen | Ctrl+Shift+1 |
Interaction Modes
| Mode | Purpose | How to Switch |
|---|---|---|
| Select Mode | Select, move, and edit entities — default mode | Double-click on empty canvas area |
| Pan Mode | Canvas panning only. Prevents accidental entity movement | Double-click on empty canvas area |
Tips for large diagrams
In diagrams with 50+ entities, switching to Pan Mode prevents accidental entity movement. Use it together with the minimap to quickly navigate while maintaining an overview of the full structure.
Keyboard Shortcuts
General
| Action | Shortcut |
|---|---|
| Undo | Ctrl+Z |
| Redo | Ctrl+Shift+Z |
| Select all | Ctrl+A |
| Delete selection | Del or Backspace |
| Duplicate | Ctrl+D |
| Save | Ctrl+S |
Editing
| Action | Shortcut |
|---|---|
| Edit entity | Enter (selected entity) |
| New entity | Top toolbar button |
| Add column | Tab in the edit dialog |
View
| Action | Shortcut |
|---|---|
| Logical mode | Top toolbar view toggle |
| Physical mode | Top toolbar view toggle |
| Combined mode | Top toolbar view toggle |
| Fit all | Ctrl+Shift+1 |
| Reset zoom | Ctrl+0 |
Top Toolbar
The toolbar dynamically adapts to the current context. When nothing is selected, default tools are shown; when an entity is selected, a Property Bar appears for quick attribute changes.
Default Tools
| Tool | Description |
|---|---|
| Add Entity | Create a new entity on the canvas |
| Add Note | Create a note node for memos — supports rich-text editing |
| Add Zone | Create an area for logically grouping entities |
| Arc Mode | Switch to Exclusive Arc definition mode |
| View Mode Toggle | Switch between logical/physical/combined view modes |
| Auto-Align | Automatically align selected entities to a grid |
| Zoom Controls | Zoom in, out, reset, and fit all |
Property Bar (When Entity Is Selected)
When an entity is selected, the toolbar shows the following property controls:
- Background color — Use for domain-specific color coding
- Border color — Highlight important entities
- Text style — Bold, italic, etc.
View Modes
View a single model from three different perspectives. The underlying model data remains identical — only the display changes.
Ideal for business-focused modeling.
- Entity names: Logical names (e.g.,
Customer) - Attribute names: Logical names (e.g.,
Customer No) - Proportional font applied
- Use case: Business review, requirements validation, terminology verification
Ideal for database implementation.
- Table names: Physical names (e.g.,
CUSTOMER) - Column names: Physical names (e.g.,
CUST_NO) - Monospace font applied
- Use case: DDL verification, developer handoff, physical design review
View logical-to-physical mappings simultaneously.
- Both names shown side by side (e.g.,
Customer No(CUST_NO)) - Use case: QA, logical-physical consistency verification, standards compliance
View Mode Selection Guide
| Scenario | Recommended Mode |
|---|---|
| Requirements review with stakeholders | Logical — communicate in business terms |
| Schema handoff to developers | Physical — verify actual table/column names |
| Standards verification, QA | Combined — check logical-physical mappings |
| Final check before SQL export | Physical — confirm names reflected in DDL |
Context Menu
Right-click on the canvas, an entity, or a relationship line to open a context-specific menu.
- Add Entity
- Add Note
- Add Zone
- Select All
- Edit
- Duplicate
- Define Subtype
- Change Color
- Delete
- Edit Relationship Properties
- Delete
Auxiliary Features
Minimap
A thumbnail view of the entire diagram is displayed in the bottom-right corner of the canvas.
- Current viewport position shown as a blue rectangle
- Drag within the minimap to navigate the canvas
- Useful for understanding overall structure in large diagrams with many entities
Smart Guides
When moving entities, guide lines automatically appear to assist with horizontal/vertical alignment to other entities.
- Snap to guide lines for precise layout
- Top/bottom/left/right/center alignment guides provided
- Useful for distributing entities at equal intervals
Multi-Selection
Manipulate multiple entities at once.
| Method | Action |
|---|---|
| Shift + Click | Add/remove individual entities from selection |
| Drag area selection | Select all entities within the area |
| Ctrl+A | Select all entities on the canvas |
When selecting multiple entities, a floating selection toolbar appears:
- Batch color change — Change the background color of all selected entities at once
- Alignment — Left/right/top/bottom align, distribute evenly
- Delete — Batch delete selected entities
Auto-Save
All changes on the canvas are automatically saved. No need to manually click a save button. In case of network errors, data is cached locally and synchronized upon reconnection.